
Easily download free 8.5" x 11" US letter size Microsoft Word label templates online in .doc format. We have over 120 label templates to help you create professional-quality labels. Templates are in .doc format and will open up in all versions of Microsoft Word (including Office 365).
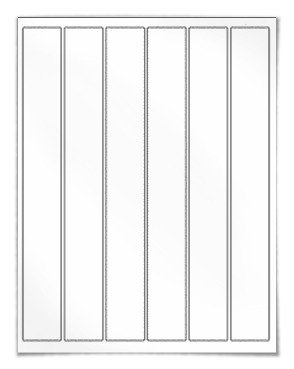
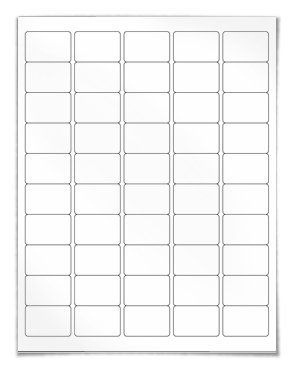
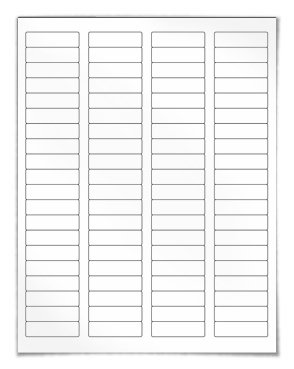
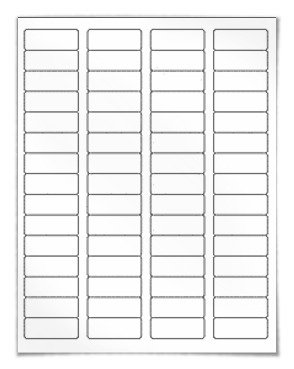
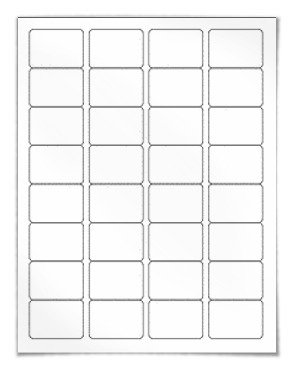
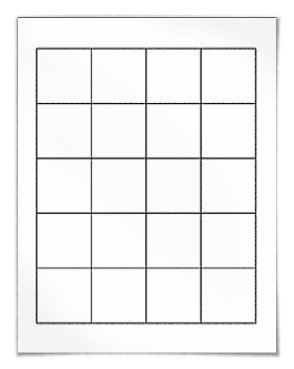
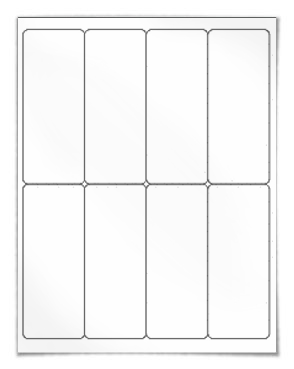
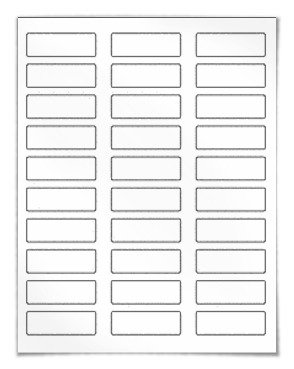
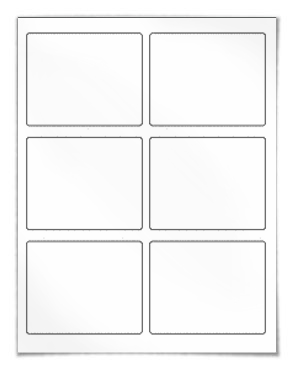
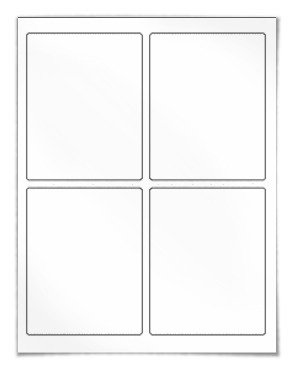
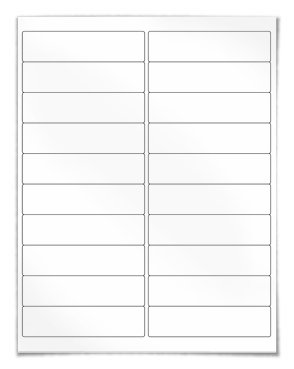
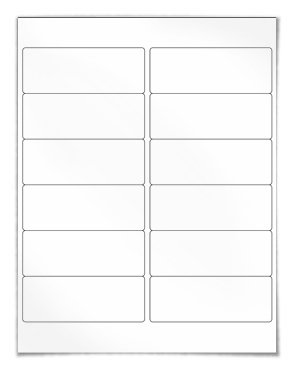
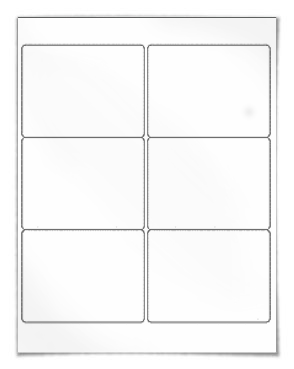
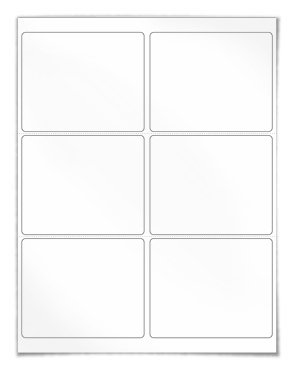
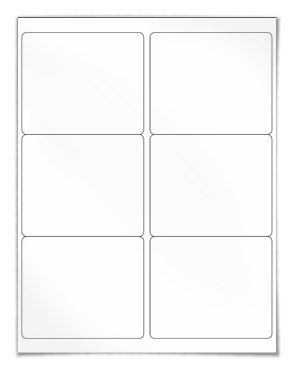
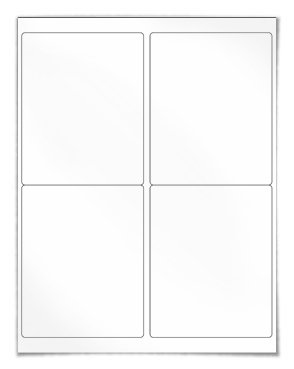
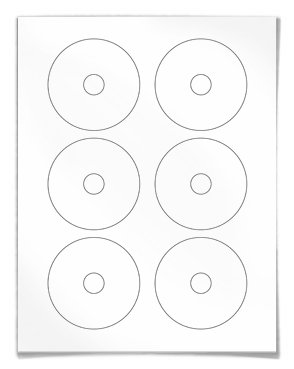
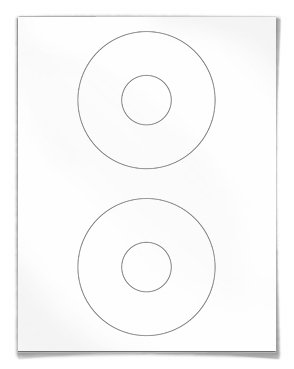
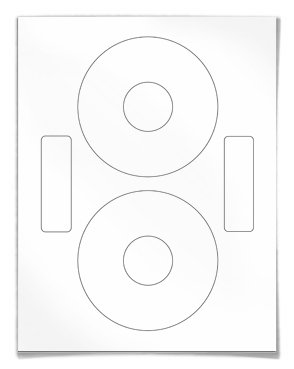
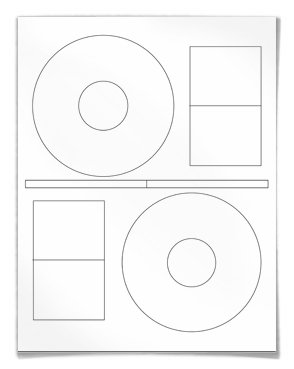
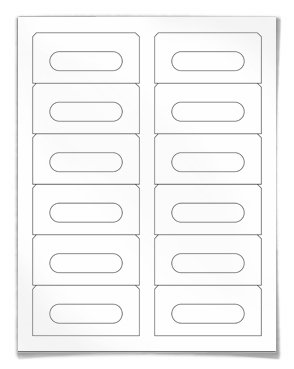
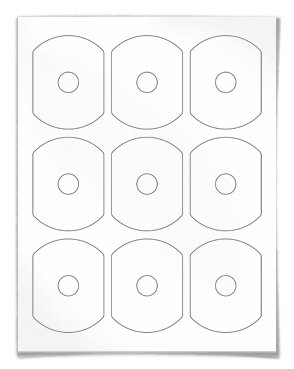
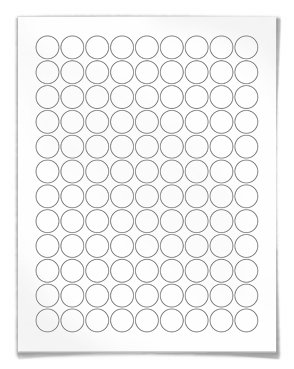
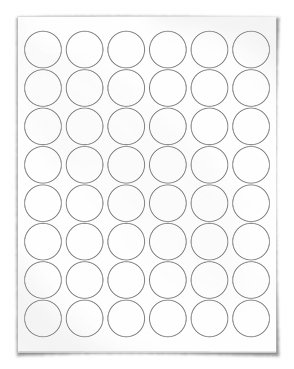
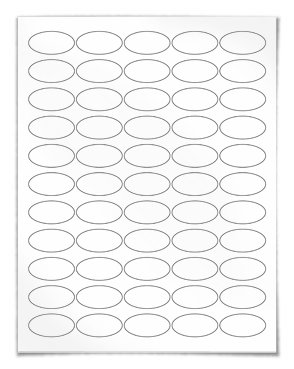
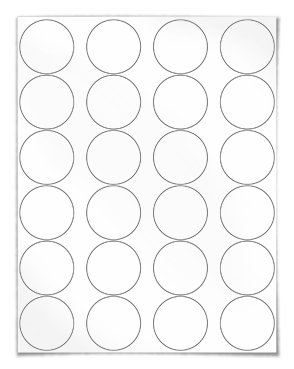
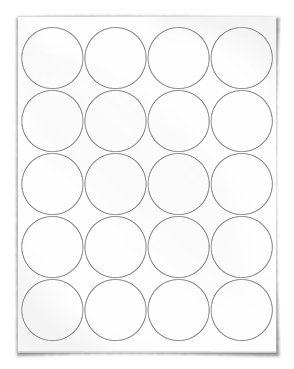
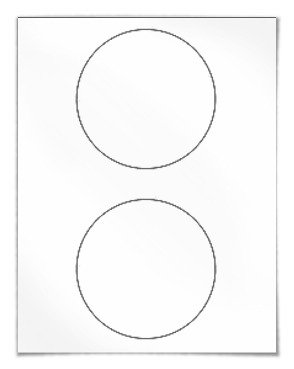
Round Cornered | Square Cornered | Round & Oval | CD & Media
How to Design Labels in Microsoft Word
Designing labels in Microsoft Word has never been easier. Simply insert text or images into each cell, then print to your laser or inkjet printer. Follow the steps below to get started.
If you can't see the cell borders/outlines, turn on gridlines.
Add text to your labels
- 1.) Place your cursor in one of the individual label cells.
- 2.) Begin typing.
- 3.) Click on another individual cell to move on.
Add pictures/images to your labels
- 1.) Place your cursor where you want to insert the graphic.
- 2.) From the "Insert" menu, choose "Picture."
- 3.) Select the file you want.
- 4.) Click the "Insert" button.
Access Free Microsoft Word Templates
Use the instructions below to find your label template and get started designing, creating, and printing all types of labels.
Download blank label templates for Microsoft Word
For every label configuration we offer, there is a corresponding Microsoft Word template. These templates are for the quick and easy creation of professional-looking labels. You can add text or import graphics with no other changes or reformatting required. There is no simpler way to create the labels you need.
- 1.) Browse the blank Microsoft Word label templates below.
- 2.) Select the corresponding downloadable file for your label sheets.
- 3.) Click "Download this template."
- 4.) Open the file and begin designing.
Note: Deleting, resizing, or changing the setup of the template may affect the positioning of your own graphics or text when printed.
Templates for popular address/mailing sizes, 5160 templates, and CD label templates, as well as standard template sizes similar in layout to Avery® are available for Microsoft Word.
Use pre-installed templates in Microsoft Word
Your version of Microsoft Word likely has label templates in the default label wizard.
To access the pre-installed label templates, follow these steps:
- 1.) Click into the "Mailings" tab.
- 2.) Choose "Labels."
- 3.) Select "Options."
- 4.) Change the "Label vendors" dropdown until you find a compatible configuration.
- 5.) Click "OK."
- 6.) Choose "New Document."
You can use our Avery cross reference chart to find sizes which match up with the templates in the wizard.
Find your templates by shape here