

We have many options to choose from when printing your own file folder labels. You can browse an entire selection of neon and pastel color labels in addition to the standard white. Starting with colored label stock opens up lots of creative options—even if you only put just a file or folder name on the label—but in this tutorial, I’m going to go with the standard white file folder labels so that we can selectively add color in Word. Specifically, I’ll use the WL-850WR file folder label in removable white matte to make it easier to reposition those labels for a perfect fit on file folders.
Get the Template
Before we can do anything, we need the Word template for the correct labels. WorldLabel.com has easy-to-use templates for all of its labels, and it makes finding those templates easy with the “Download Templates” menu item right at the top of the site. You can also find them on the product page.
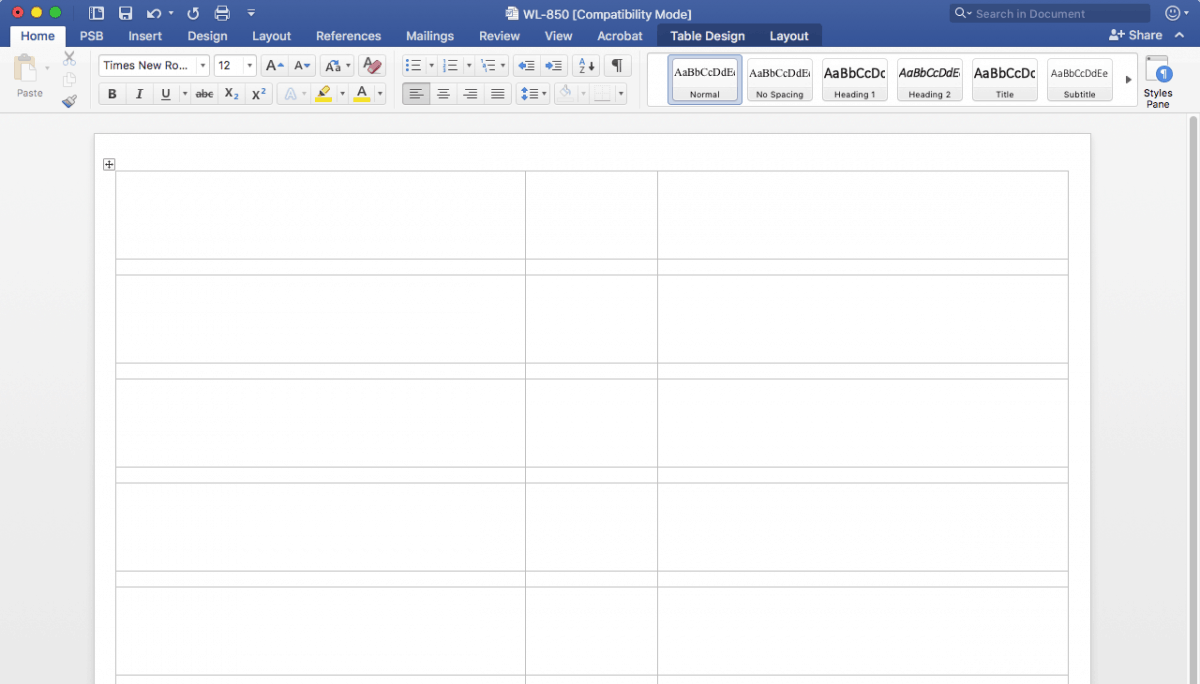
If you don’t see any grid lines, they’re set to be invisible in your copy of Word. Click on the Layout tab of the Ribbon Bar at the top of the window, and then on the View Gridlines button. That should reveal the invisible, non-printing gridlines that describe the area of each file folder label.

Add Text
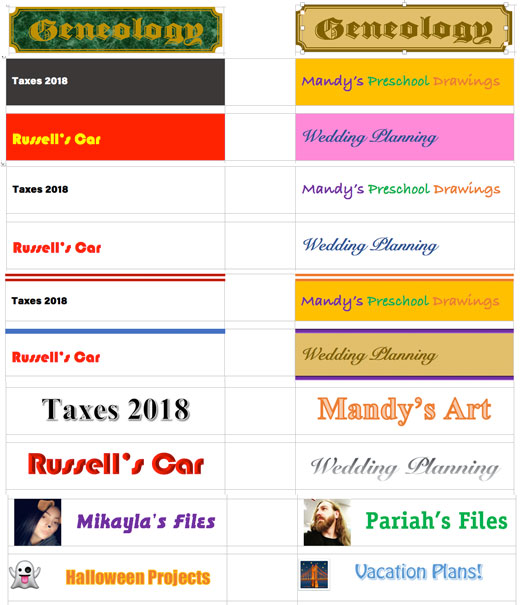
The first project we’ll tackle is the simplest and most obvious—adding text to file folder labels.
Each of those big blanks in the grid is a file folder label. All you have to do to enter text is click inside the label space and start typing. Naturally, you can change fonts, font sizes, and colors from the Home tab of the Ribbon.

You can make each label different, or copy and paste from one label into all the others to make an entire sheet of identical labels.
Jazz Up the Text
Many times, all you need is plain old black-on-white text. Other times you want to color the type. Yet other times, you really want to jazz it up and make file folder labels that aren’t the same old, boring text.
On the Ribbon’s Insert tab you’ll find the Word Art button. Click it to reveal a selection of jazzy text styles. Pick one, and then Word will insert at the location of your cursor a Word Art object.
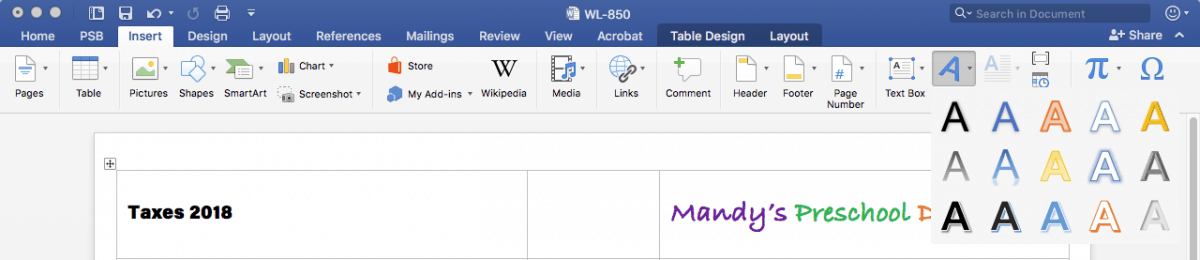
Just type your label text and click away from the Word Art object to make a new label in that jazzy style.

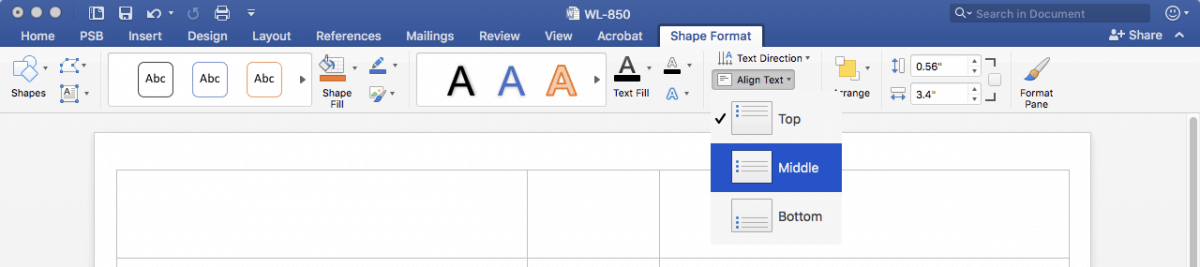
If your Word Art object appears below the bottom of the label as in the figure below, don’t fret; it’s a simple fix.

Go to the Shape Format tab on the Ribbon and, after clicking the Align Text button, choose Middle. The Word Art will snap to fit within the label. If some text is still cut off, reduce its font size on the Home tab.
Add a Background Color
You can color the background of any individual label by filling the table cell with color. Just select the text within any label and go to the Table Design tab of the Ribbon. There you’ll find the Shading button, which, when clicked, lets you pick a fill color for the table cell.
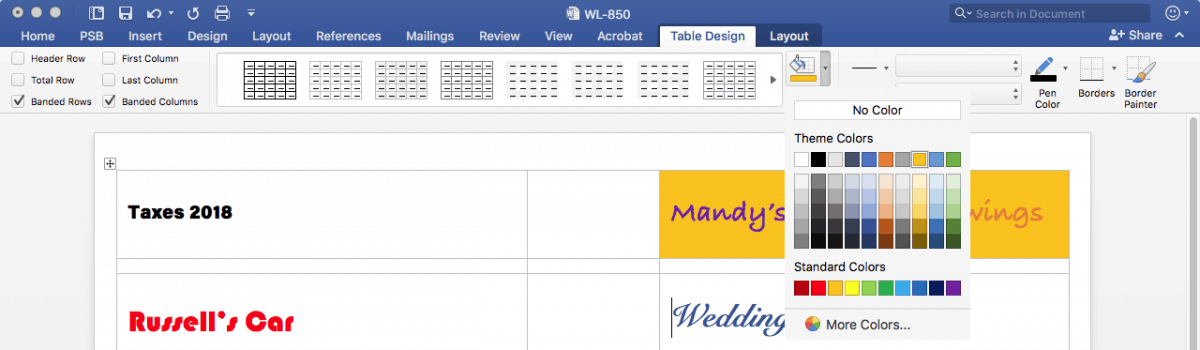
That translates into a colored background for your file folder label. Each label can have its own different background color.

If the color you want isn’t there, click the More Colors option to find millions more possible colors.
Add a Colored Border
Another common style of even the most professional file folder labels is include a colored border. Often the border is an important part of the file organization system, providing a color coding scheme.
1. Select the text within the cell and go back to the Table Design tab.
2. From the Border Styles button, select the style that’s closest to what you want in your border style.
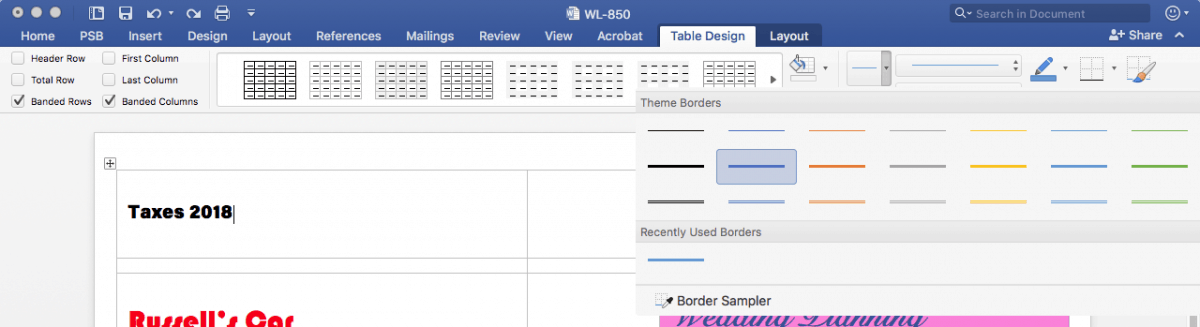
3. That will give you a paintbrush-style cursor. Drag that along the border you want to create—the top of the label in my case. The result will be a basic line in the color and style you chose.
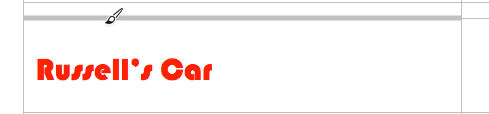
4. Now you can customize that line. Beside the Border Styles button are fields to change the style, thickness, and Pen Color of the border. Choose your options from those fields to get another paintbrush-style cursor. Just drag it across the border you want to change, and, voila!

You can also use the Border Painter button to paint multiple borders at once.
Get Creative with Shapes
Another thing you’ll find on the Insert tab of the Ribbon is the Shapes menu.
1. Click on the Shapes menu to see a cornucopia of shapes Word can insert into your label.
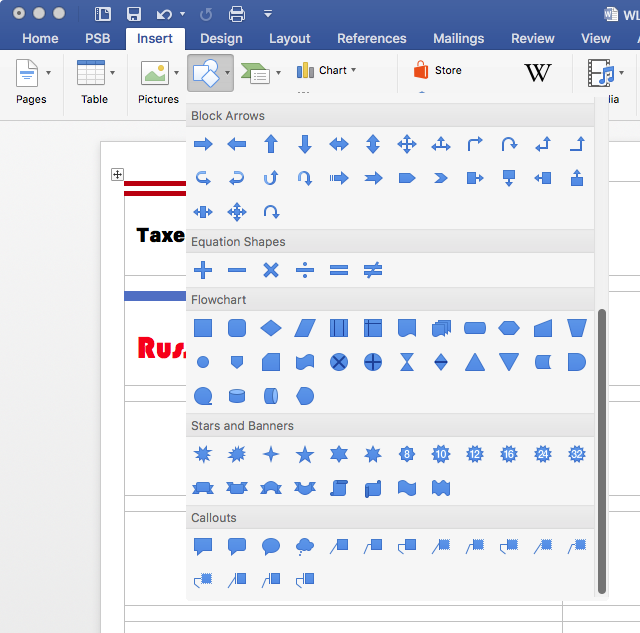
2. Pick a shape, and then you’ll get a plus-sign-like drawing cursor. Draw the shape to fill the label cell.

3. If your shape doesn’t perfectly land within the area you want it, click on the little handles in the frame surrounding the shape to resize it to fit.

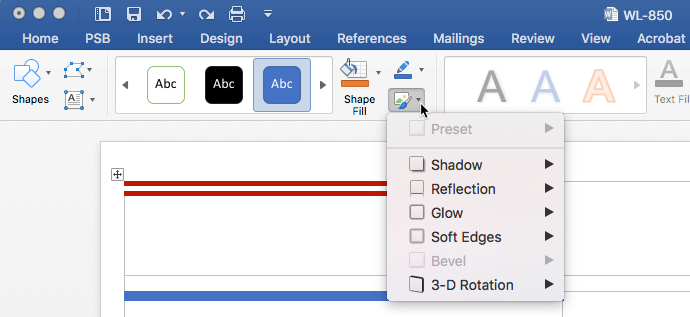
4. As long as the shape is selected, you can use the Shape Format tab’s Shape Fill, Shape Outline, and Shape Effects buttons to format it exactly the way you want it.
5. You can also layer shapes on top of each other, like adding a Text Box, also from the Insert tab, to put text above the new shape.


Add a Photo
Once you have a shape in the label field, even if that shape is a simple rectangle, you can fill the shape not only with a solid color, but also with a photograph or texture.
1. Create your shape as normal.
2. Right-click on the shape and choose Format Shape. If you have trouble right-clicking, you can also just choose the Format Pane button from the Shape Format tab of the Ribbon. Either way, up will pop the Format Pane.
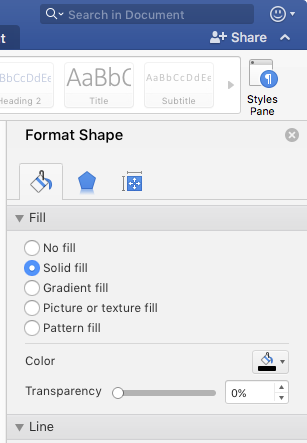
3. In the Fill section, change the fill option from Solid Fill or No Fill to Picture or Texture Fill, and then choose the File button.
4. Navigate to your desired picture on your computer and open it. Word will now fill the shape with your photo.

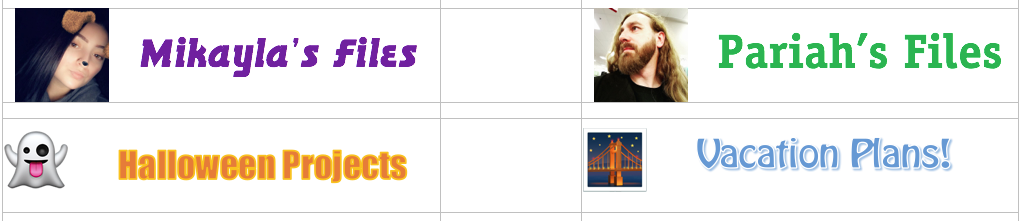
Just imagine all the possibilities! You could label your house folders with a photo of your house, your car files with pictures of your cars, and people-related folders with the photos of those people!
Add a Texture
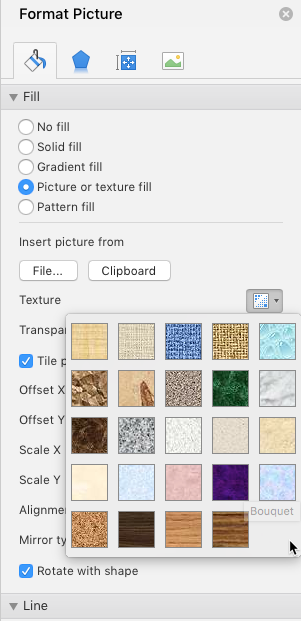
Instead of pictures, you can also add textures to your file folder labels. Word includes a bunch of textures ready for your use. Start your shape the same way, including setting the Fill to Picture or Text Fill, but, instead of clicking on the File button, choose a texture from the Texture popup.
Add Inline Photos and Clipart
Another way you can adorn your file folder labels is by adding clipart or photos not as background images but before (or after) text. Just insert pictures from the Insert tab of the Ribbon, either photographs or clipart. You can even copy and paste things like emojis from other applications.
Written by Pariah Burke